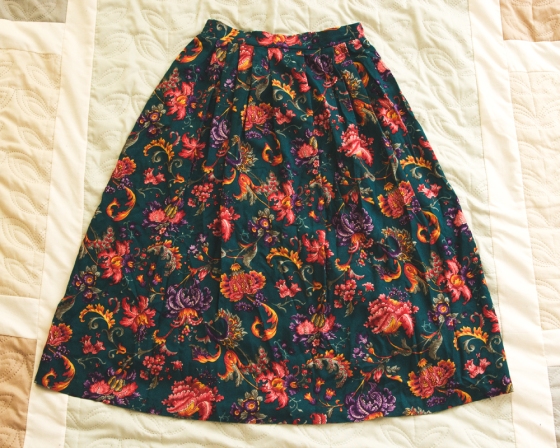
It’s time for another DIY today! I woke up and made my way over to Salvation Army in search of a good DIY project to share today, and I found it alright. The idea for it came from a dress I bought at Salvation Army last year. It’s a long dress, but it falls just above my ankles, cutting off at a very odd and less-than-flattering spot. I’ve been wanting to shorten the dress, it’s a cute floral pattern that would look really great ending just above my knees, but I haven’t gotten around to it yet. Anyway, while thinking about cutting so much off of this dress I was debating what I could do with the extra fabric, one day I realized that it would look really great as a scarf! So today at Salvation Army I found a skirt that I thought was pretty and tried it on. Alas, it must have been a size 000 or something, I couldn’t even get the thing past my hips, even with an elastic waist. At first I was sad, then I realized the skirt had the same potential as my awkward-length maxi dress! So I put it back on the hanger and marched it over to the checkout. Here it is, my $2.99 soon-to-be-scarf skirt.
So the first thing I did was wash it when I got home. I know Salvation Army clothes get washed before they go on the racks, but I just wanted to make sure it was really clean before I put that fabric anywhere near my face!
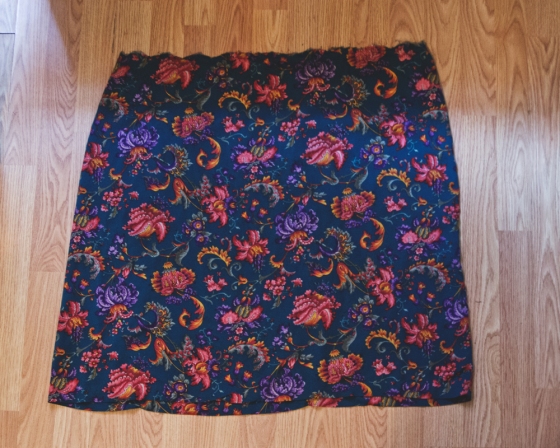
Second thing was to pull out the waist seam to figure out how much fabric I actually had to deal with. I wasn’t sure how much the pleats at the top were hiding. Turns out it was a pretty good amount!
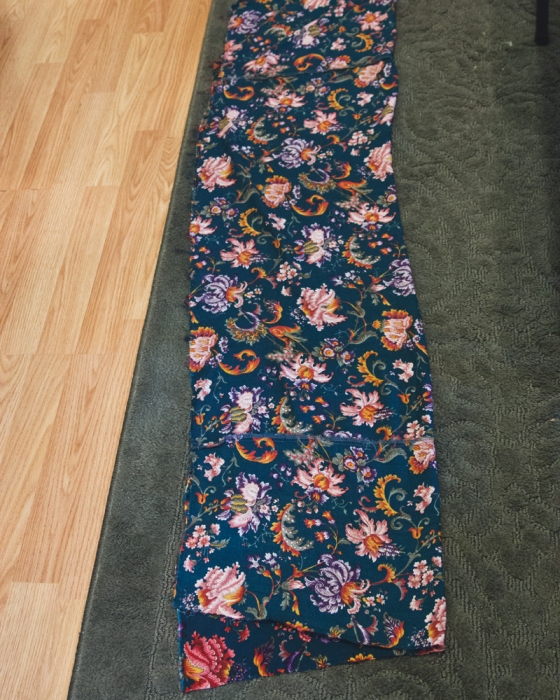
I then had to pull out another side seam because the skirt wasn’t quite as wide at the top as it was at the bottom. When that was done I laid it out and folded it in half with right sides together.
At this point the scarf was roughly 52″ x13″. Not quite as long as I would have liked, but it works. I also cut those non-square edges off the fabric that you can see in the previous image so that I had a rectangle instead of a trapezoid shape.
I then pinned the long sides together and sewed them up.
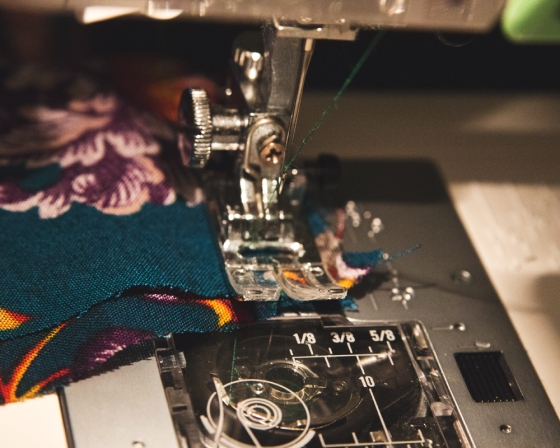
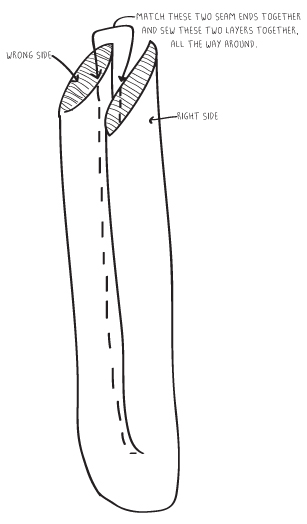
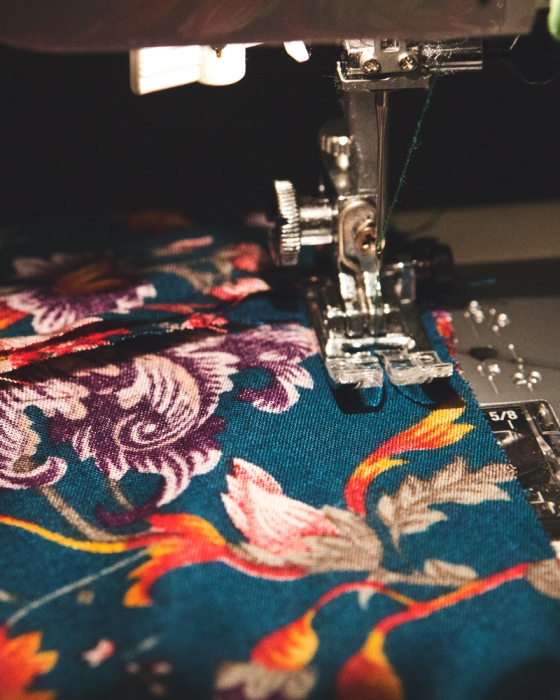
I then had a long tube, and I flipped it right side out and folded it in half. I matched the two ends of the long seam I had just sewn together and taking just those two layers of fabric I began sewing them together. Here’s a photo and a diagram to show what I mean.
Once I had sewn all the way around save for a few inches I took my scarf off the sewing machine. At this point all that was left to do was to hand sew the last few inches, and then I was finished!

