The process of an artist is always so inspiring for me to see. To watch as raw materials are transformed into the final product is just amazing to me. Maybe you can chalk it up to watching too many Picture Picture segments during episodes of Mr. Rogers Neighborhood when I was younger. Whatever the reason, I thought it would be nice to show my process from taking a vintage book and loose pages and creating a blank journal. Someday maybe I’ll get a nice video like Mr. Rogers showed, but for now you’ll have to satisfy yourself with simple photographs.
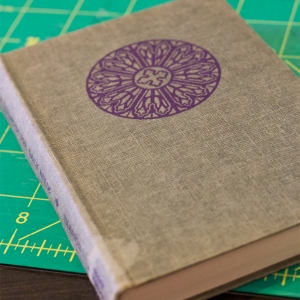 First, I find a book that has a lovely cover that’s in good shape. If the cover is in rough condition it will not do well in the gutting and refilling process and just won’t last long as a journal before the cover starts to fall apart. So here’s a book I got for a great deal at a yard sale in April.
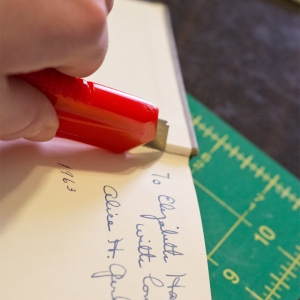 Once my book is picked out, I carefully cut down the spine on inside the covers to remove the book block. When I first started re-purposing old books, I found out that it is very easy to cut too far and actually make a hole in the small gutter area of a book between the cover and the spine, so now I know to be very careful. The whole process requires a lot of care and precision, otherwise I’d end up with a sloppy book that just won’t look nice.
Once the book has been gutted, I measure the original book pages and cut my new journal paper down to the correct size. You’ll notice my ruler there is upside-down, that’s because having the metal edge flush against the paper gives a much more accurate cut. I use acid free paper that is made with a minimum of 30% post consumer fibers.
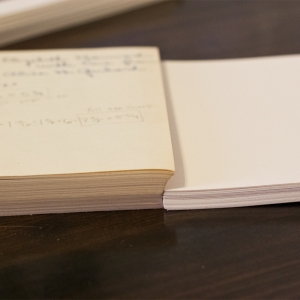
I cut enough papers to be roughly half as tall stacked together as the original book block, but I also make sure to have a number that is divisible by three because….
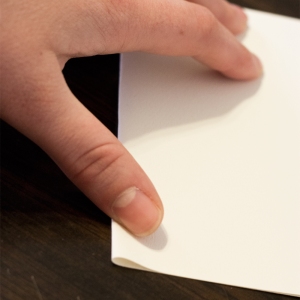
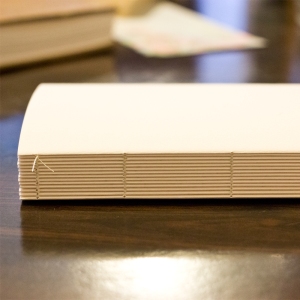
I then fold each paper in half and put them into groups of three. These groups of three are called signatures. In this particular book I had a total of 14 signatures.
Note: I don’t actually fold paper with one hand like this, but I was holding a camera in the other hand, so what’s a girl to do?
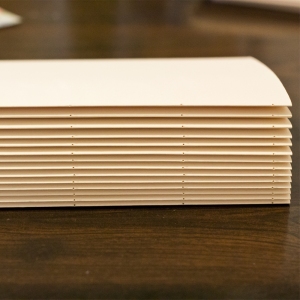
Once all the signatures are folded and put together I have to create a guide and poke holes in each signature for the thread to go through. Each hole should be in the exact same spot on each signature to ensure a neat bind.
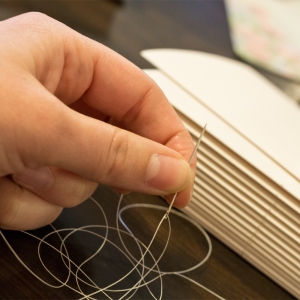
Then it’s time to thread the needle and start sewing. I use quilter’s thread most of the time for my projects, it’s a strong polyester/cotton blend that holds the pages together well, without being too strong that it tears through the paper.
Here’s a shot of all the signatures bound together!
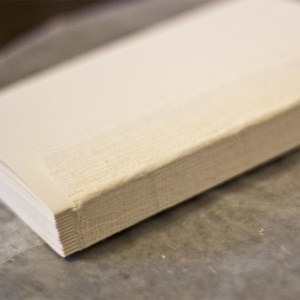
Once the book has been bound, for this kind of journal I need to add what is called super to the spine. For open-backed books such as this one I don’t include this step, but when I keep the existing spine I add the super because it adds strength and durability to the binding and it also removes the inevitable gaps that appear between the signatures.
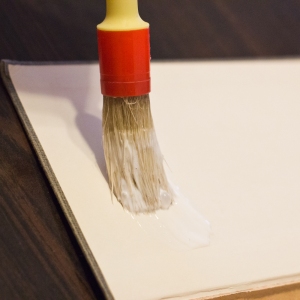
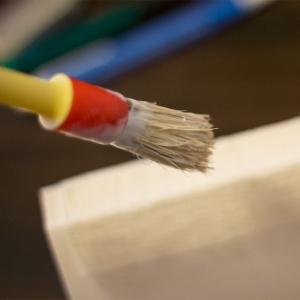 To add the super I cut a piece and then center it on the spine and then fill up my brush with glue and brush it over top. I have to make sure I get into all the little cracks between signatures to close up all the gaps. Again, due to holding a camera with one hand I wasn’t able to get great shots of this part of the process.
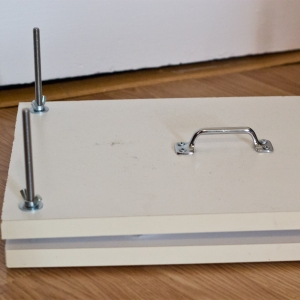
After the super has been added I put wax paper around it and put it into my nice little book press and let it dry for about a day.
After it comes out of the press it’s finally time to add the new book block into the old book cover. Carefully I brush a thin layer of glue onto the cover and then attach the first page of my block. I use a bone folder to flatten out and rub the page to get it really stuck down. Then it’s the same thing on the back cover.
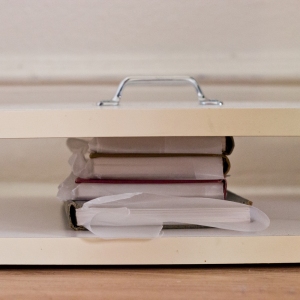
Again, I put wax paper between the front and back covers so as to protect the rest of the book from any possible drips of glue. Then in the book goes to the book press for another day. You can see here that I’m pressing a few books at the same time, I just made sure to arrange them biggest to smallest to get the most even distribution of pressure on them.
And since the books are still in the press drying, I don’t actually have an image of the finished product. Check back next week and I’ll have some shots of all four of those books you can see being pressed in the last image. Let me know if you have any questions about the process, I’d love to answer them!

Quite interesting and educative
This has inspired me greatly thank you